MBR Color Corrector 3 Manual
Index
Installing
The installation instructions are here.
If you are having trouble here are step by step instructions for installing on a Macintosh and step by step instructions for installing on Windows.
macOS Catalina (10.15) and later require an extra step when installing.
If the plugin doesn't show up in the effects list, close Premiere Pro and reopen it while holding the shift key (this causes Premiere Pro to rescan all the plugins and fix therefore repair its plugin cache).
Basic Color Correction
1. Apply the Effect to Footage
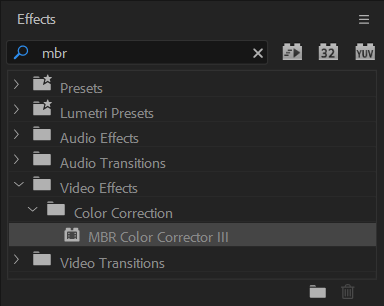
The filter is called MBR Color Corrector III and will be found
in the Color Correction group. Practically, the easiest way to
find it to use the text search.
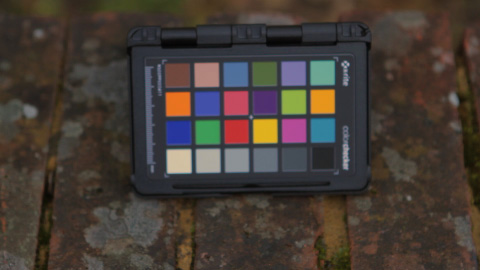
2. Find a frame in the footage containing a clear shot of the reference card

Move the playhead / cursor to a frame in your clip that shows the reference card.
To give the Find card in frame feature the best chance of
working, you want to find the frame with the reference card in focus and
relatively large within the frame.
The Find card in frame feature looks for high contrast edges to
find the colored patches (and therefore the card), if the card is out of focus,
or moving to quickly, then you'll have to use the Read card in frame
fallback.
3. Set the Input Transfer Function
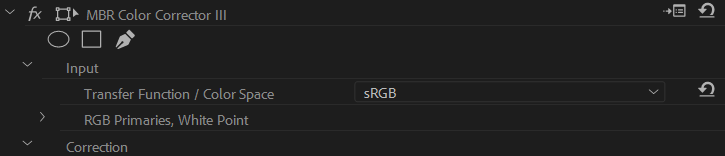
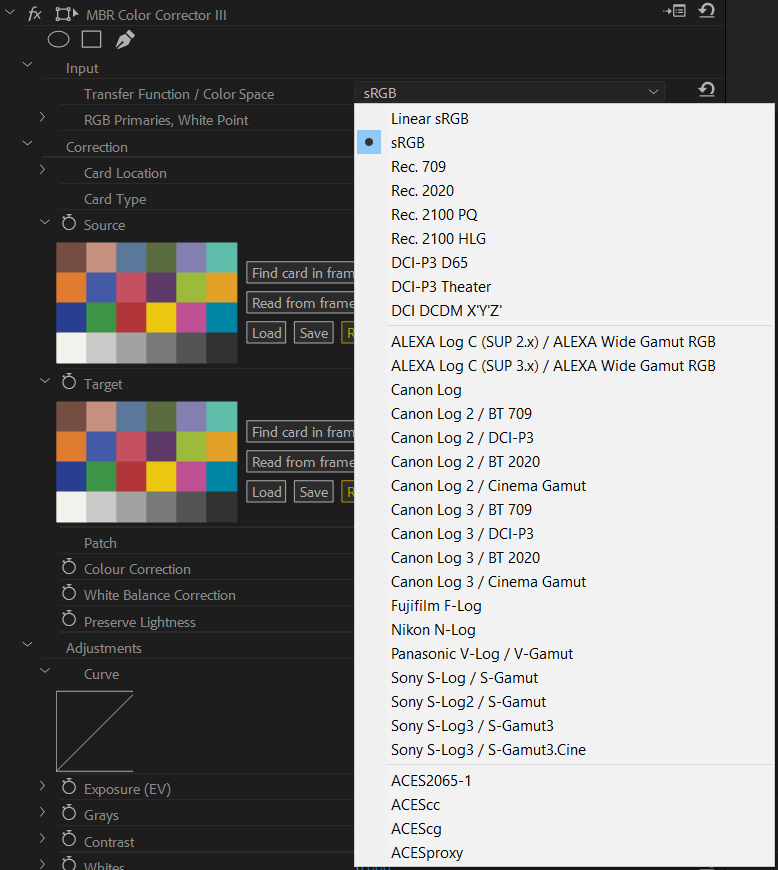
Simply select the option from the dropdown list that matches the settings used on the camera when filming. Usually this is obvious, but sometimes it requires a little more thought.
The options may have slightly different names in the camera...
The option Rec. 709 really means
ITU-R Recommendation BT.709
but is often abbreviated as Rec. 709, BT.709, or
ITU709; this means that if the camera has an option called
BT.709
you should select Rec. 709 as the Input Transfer
Function. Similarly: Rec. 2020 or Rec. 2100 may be
called BT.2020
or BT.2100
on the camera.
Some cameras have a HLG / BT.2020
option, for this you should
select Rec. 2100 HLG as the Input Transfer Function.
Hybrid Log Gamma is defined in
ITU-R Recommendation
BT.2100, and the color space for Rec. 2100 is the same as the color space
for Rec. 2020. Therefore the HLG / BT.2020
option is referring to what
the effect calls Rec. 2100 HLG.
The various Canon Log 2, Canon Log 3, and
Sony S-Log 3 options refer to the same transfer function, but with
different color primaries. If you have a shot with the reference card in it; it
really doesn't matter which color primaries you choose as the color correction
based on the reference card patches will correct the primaries. (If you are
correcting a shot without any reference card in it, then
it is important to select the correct color primaries).
4. Set the Card Type in the Effect
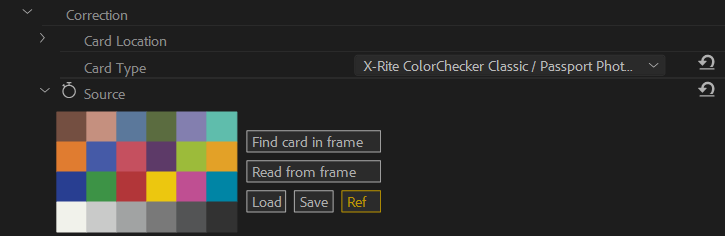
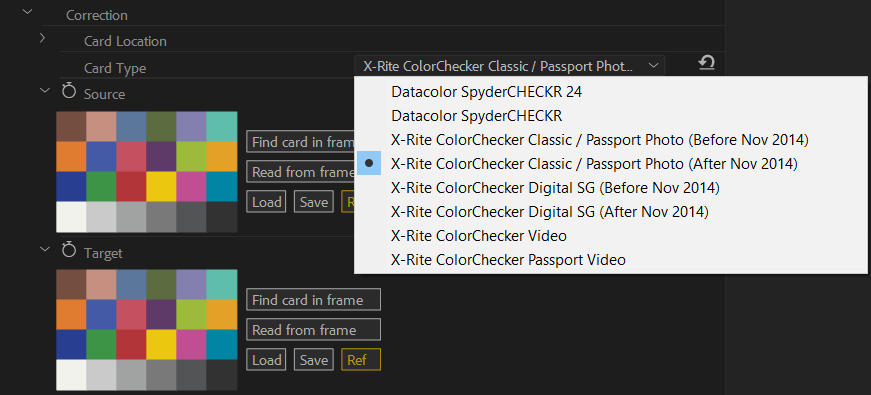
Set the Card Type parameter to match the type of reference card
that is visible in the frame.
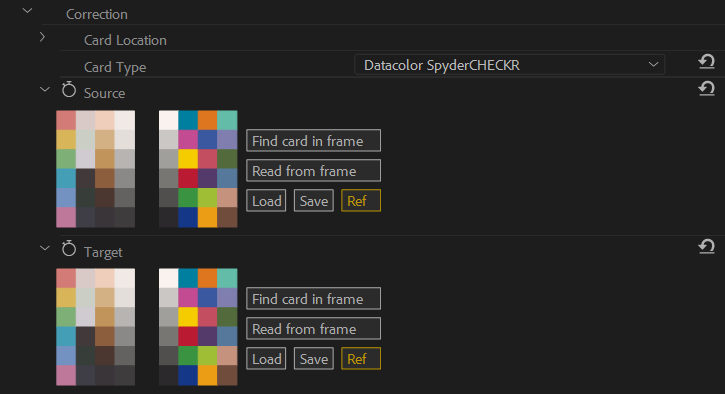
When you change the option, the diagrams of the cards in the
Source and Target sections will update to match.
However, for the sample frame shown in step 2, we want to select
X-Rite ColorChecker Classic / Passport Photo (After Nov 2014).
5. Read the Color Patches from the Reference Card in the Frame into the Effect
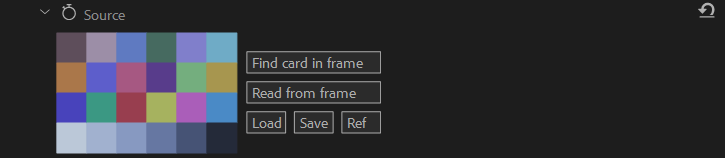
Click the Find card in frame button within the
Source section.
This will update all the color patches shown in the Source
section to match those in the frame.
If Find card in frame doesn't work
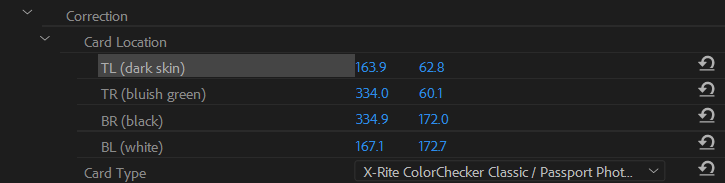
To manually tell the plugin where the card is, open the
Card Location section and select any of the four corners within.
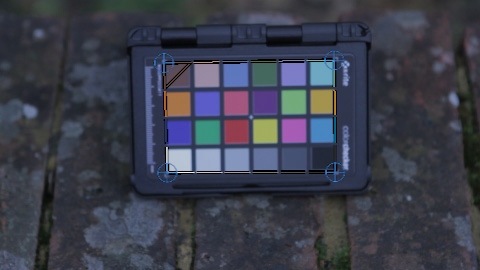
This should enable the plugin overlay in the monitor. You can now drag the corners the correct location.
The overlay shows a dotted line outlining the area in the frame where the card is. The dotted line is colored to match the patches at the edge of the card, and the top left of the card is marked with a diagonal line, to help mark the card in the correct orientation.
Click the Read card from frame button within the
Source section to update the color patches.
If one of the patches is partially obscured
Click on the patch that is incorrect in the card displayed in the
Source section.
Then change the colour of the Patch parameter to be the correct
color from the frame.
6. Leave the Target section alone
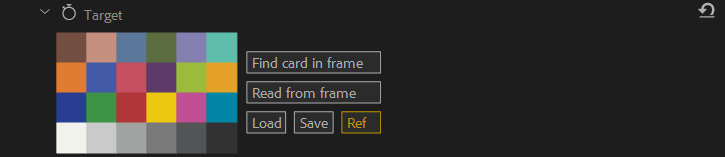
Because we are trying to convert the footage to 'correct' / reference colors, we want the reference card in the frame to look like the reference colors built into the effect.
If the Target hasn't been changed the Ref button
will be highlighted in yellow. If it has been changed, then clicking on the
Ref button will reset it.
7. Set the Output Transfer Function
Select an output transfer function based on how you intend to use the footage:
- For HD footage you probably want to select
Rec. 709. - For 4K footage you probably want to select
Rec. 2020. - For HDR footage you probably want to select
Rec. 2100 PQorRec. 2100 HLG.
Adjustments
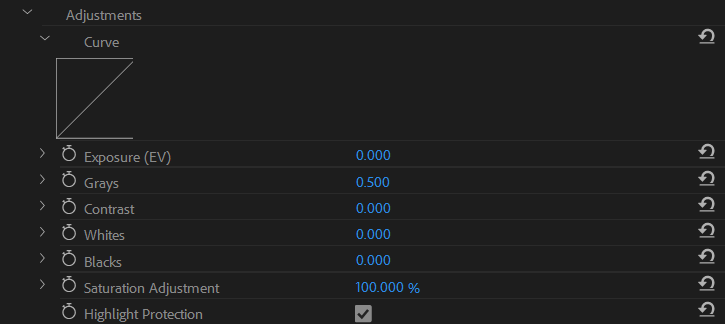
The Adjustments section can used to perform very simple quick adjustments to
the look of the footage. (The Contrast, Whites,
Blacks, and Highlight Protection options are only
enabled in the Full version of the plugin).
If you are converting from HDR / log footage into 'normal' dynamic range, the
Exposure (EV) slider can be very useful to get the correct part of
the footage exposed reasonably.
The Curve option shows the curve that results from the
Exposure (EV), Grays, Contrast,
Whites, and Blacks option settings.
The adjustments section of the reference manual describes what each adjustment does in detail.
Color Correction without a Reference Card
If you set the Input and Output transfer
functions, and leave the Source and Target as the
reference card; the effect will convert your footage appropriately.
This might be useful if you wish to convert from log footage from the camera
into a standard that the camera manufacturer hasn't supplied a LUT for. Or, in
conjunction with the
adjustments, to convert into
Rec 709 while also fixing exposure.
Matching Footage
Proper instructions to follow, but here is the idea:
Find or Read the card from the clip with the correct look, click Save
Then Find or Read the card from the other clip in the Source section as normal
Click Load in the Target section of that clip to match the look
Description of each Option
A description of what each option does is on another page.